
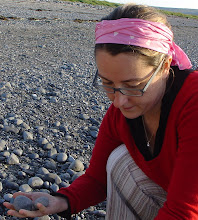


Disclaimer: The felting needle is super duper sharp. This activity involves poking a sharp needle in and out of the roving wool and requires concentration. Probably you shouldn't let your nearly six year old do this. But I did. I watched her like a hawk and her temperament has always been careful and not impulsive. I know I wasn't much older than six before I was using a pocketknife and learning to whittle sticks. I'm done with my disclaiming now.

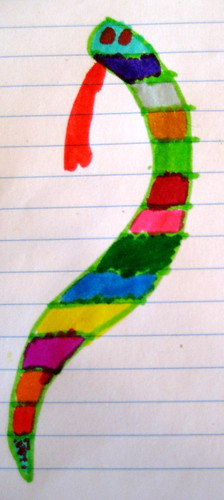
We cut the felt bracelet shape out and I embroidered the outline of her animal onto the felt. Then she chose the colors and we pulled out small tufts of dyed wool and began to poke the needle through them and into the felt. The fibers of the wool poke through the felt and sort of hook onto each other, and you get a lovely wooly color block.
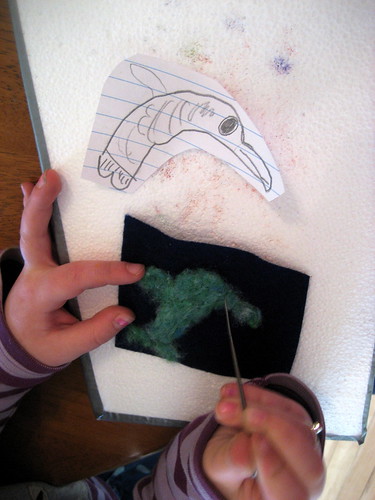
The more you poke, the more the wool flattens down and takes shape. You can use the needle to shape the wool, being sure to go carefully. Once I got the basic color down, I let Miss Kinder take over the poking, so she could do some.
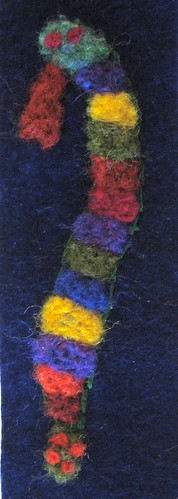
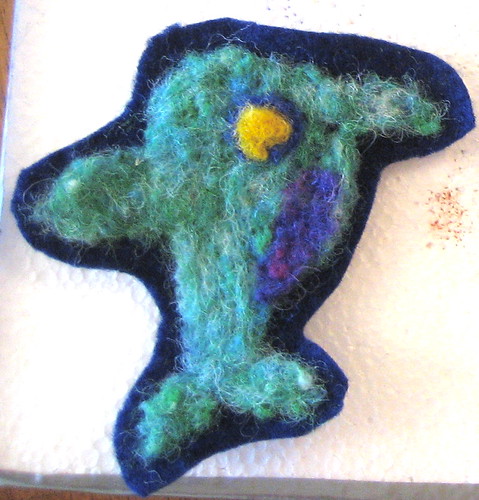
They came out really cute, and were sent out as small gifts to some loved ones. In a couple of years, she'll be needle felting without supervision and who knows what she'll come up with!


3 comments:
Love it!!!!! Beautiful job Miss Kinder. My girls needlefelt all the time, I encourage them to use a chopstick to hold down the felt instead of using their other hand. This has helped avoid stabs.
Wow, those are really beautiful! I'll bet the kids are really proud of their work!
Wow, chopstick is a great idea, Lisa. I am going to do that. Thank you Lynnie, they are!
Post a Comment